需要集中的日志系统的原因 目前现状,每个服务生产上有三台,定位生产问题,需要连上一台机器,然后使用 cd / tail / less / grep / sed / awk 等 linux命令去日志里查找故障原因。如果在这台机器没搜索到线索,就去另外两台机器上查日志。
但在分布式系统中,众多服务分散部署在数十台甚至上百台不同的服务器上,想要快速方便的实现查找、分析和归档等功能,使用Linux命令等传统的方式查询到想要的日志就费事费力,更不要说对日志进行分析与归纳了。
为解决大量日志归档,文件搜索慢,如何多维度查询就得需要集中化日志管理,将所有服务器上的日志收集汇总,常见的解决思路就是建立集中式日志收集系统。
EFK
Elasticsearch :负责存储日志。Elasticsearch 是个开源分布式搜索引擎,提供搜集、分析、存储数据三大功能。它的特点有:分布式,零配置,自动发现,索引自动分片,索引副本机制,restful 风格接口,多数据源,自动搜索负载等。
FileBeat :负责收集日志。
Kibana :负责展示日志。Kibana可以为 Logstash 、Beats和 ElasticSearch 提供的日志分析友好的 Web 界面,可以帮助汇总、分析和搜索重要数据日志。
注意:EFK 系统下的各个组件都非常吃内存,后期根据业务需要,EFK 的架构可进行扩展,当 FileBeat 收集的日志越来越多时,为防止数据丢失,可引入 Redis,而 ElasticSearch 也可扩展为集群,并使用 Head 插件进行管理, 所以要保证服务器有充足的运行内存和磁盘空间。
EFK 与 ELK 区别 EFK 和 ELK 只有一个区别, 收集日志的组件由 Logstash 替换成了 FileBeat,因为 Filebeat 相对于 Logstash 来说有2个好处:
侵入低,无需修改 elasticsearch 和 kibana 的配置;
性能高,IO 占用率比 logstash 小太多;
快速部署 离线安装Docker # 1.下载Docker安装包(二进制) docker-19.03.1.tgz https://download.docker.com/linux/static/stable/x86_64/ yum install -y wget wget https://download.docker.com/linux/static/stable/x86_64/docker-19.03.1.tgz # 2.解压docker-19.03.1.tgz tar -zxvf docker-19.03.1.tgz # 3.复制docker目录下所有文件到/usr/bin目录下(/usr/bin是环境变量目录,在任意目录下都执行docker命令) cp docker/* /usr/bin # 4.添加docker到系统服务 vi /etc/systemd/system/docker.service # 添加内容如下 [Unit] Description=Docker Application Container Engine Documentation=https://docs.docker.com After=network-online.target firewalld.service Wants=network-online.target [Service] Type=notify # the default is not to use systemd for cgroups because the delegate issues still # exists and systemd currently does not support the cgroup feature set required # for containers run by docker ExecStart=/usr/bin/dockerd ExecReload=/bin/kill -s HUP # Having non-zero Limit*s causes performance problems due to accounting overhead # in the kernel. We recommend using cgroups to do container-local accounting. LimitNOFILE=infinity LimitNPROC=infinity LimitCORE=infinity # Uncomment TasksMax if your systemd version supports it. # Only systemd 226 and above support this version. # TasksMax=infinity TimeoutStartSec=0 # set delegate yes so that systemd does not reset the cgroups of docker containers Delegate=yes # kill only the docker process, not all processes in the cgroup KillMode=process # restart the docker process if it exits prematurely Restart=on-failure StartLimitBurst=3 StartLimitInterval=60s [Install] WantedBy=multi-user.target # 5.赋予docker.service 可执行权限,并设置开机自启 # 赋予可执行权限 chmod +x /etc/systemd/system/docker.service # 设置开机自启并启动 systemctl enable --now docker.service # 6.设置镜像源和docker主目录 # 在 docker 19.xx 版本以后使用data-root来代替graph sudo tee /etc/docker/daemon.json <<-'EOF' { "registry-mirrors": ["https://oebx1nkx.mirror.aliyuncs.com"], "graph": "/hsadata/docker" # docker主目录 存储images等 } EOF # 重启docker: systemctl restart docker
部署Elasticsearch 相关参考地址
dockerhub:https://hub.docker.com/_/elasticsearch
github:https://github.com/elastic/elasticsearch
elastic:https://www.elastic.co/guide/en/elasticsearch/reference/7.7/docker.html
# 1.拉取镜像 docker pull docker.elastic.co/elasticsearch/elasticsearch:7.7.1 # 2.调整系统内核参数 # elastic官方建议 生产环境下使用 elasticsearch镜像 需设置Linux参数 vm.max_map_count echo "vm.max_map_count=262144" >> /etc/sysctl.conf sysctl -p # 3.新建 elasticsearch 目录 mkdir -p /hsadata/elasticsearch/{config,data,plugins} # 4.修改 elasticsearch 配置 vim /hsadata/elasticsearch/config/elasticsearch.yml # 配置内容如下 cluster.name: "docker-cluster" network.host: 0.0.0.0 # 开启 elasticsearch 安全认证 xpack认证 http.cors.allow-headers: Authorization xpack.security.enabled: true xpack.security.transport.ssl.enabled: true # 5.添加系统用户 elasticsearch adduser elasticsearch # 6.授权目录及所属 chmod g+rwx /hsadata/elasticsearch chown -R elasticsearch:root /hsadata/elasticsearch/ # 7.创建并启动容器(4核8G) # ES_JAVA_OPTS="-Xms2688m -Xmx2688m" JVM内核参数优化 # --ulimit nofile=65535:65535 设置 系统限制用户最大进程数 限制用户打开最大文件数 # --cpuset-cpus="1" -m 4G 限制容器可用的CPU和内存资源 # Redhat8.6 涉及到权限问题 导致启动失败 # 解决方案 不挂载data目录启动镜像 然后将容器内的data目录拷贝到宿主机即可 # docker cp es:/usr/share/elasticsearch/data /hsadata/elasticsearch/data docker run -d -e ES_JAVA_OPTS="-Xms2688m -Xmx2688m" -e "discovery.type=single-node" -p 9200:9200 -p 9300:9300 --restart=always --ulimit nofile=65535:65535 --cpuset-cpus="1" -m 4G -v /hsadata/elasticsearch/data:/usr/share/elasticsearch/data -v /hsadata/elasticsearch/plugins:/usr/share/elasticsearch/plugins -v /hsadata/elasticsearch/config/elasticsearch.yml:/usr/share/elasticsearch/config/elasticsearch.yml -v /etc/localtime:/etc/localtime --name es 830a894845e3 # 8.启动xpack认证 并设置 elasticsearch 密码 # 进入 docker 容器 docker exec -it es bash # 在容器内执行 并设置密码 elasticsearch-setup-passwords interactive # .... 设置 es_xpack 认证的6个账户密码 ....
部署完成后 浏览器访问 http://服务器IP:9200 输入设置的用户名和密码即可 如下图
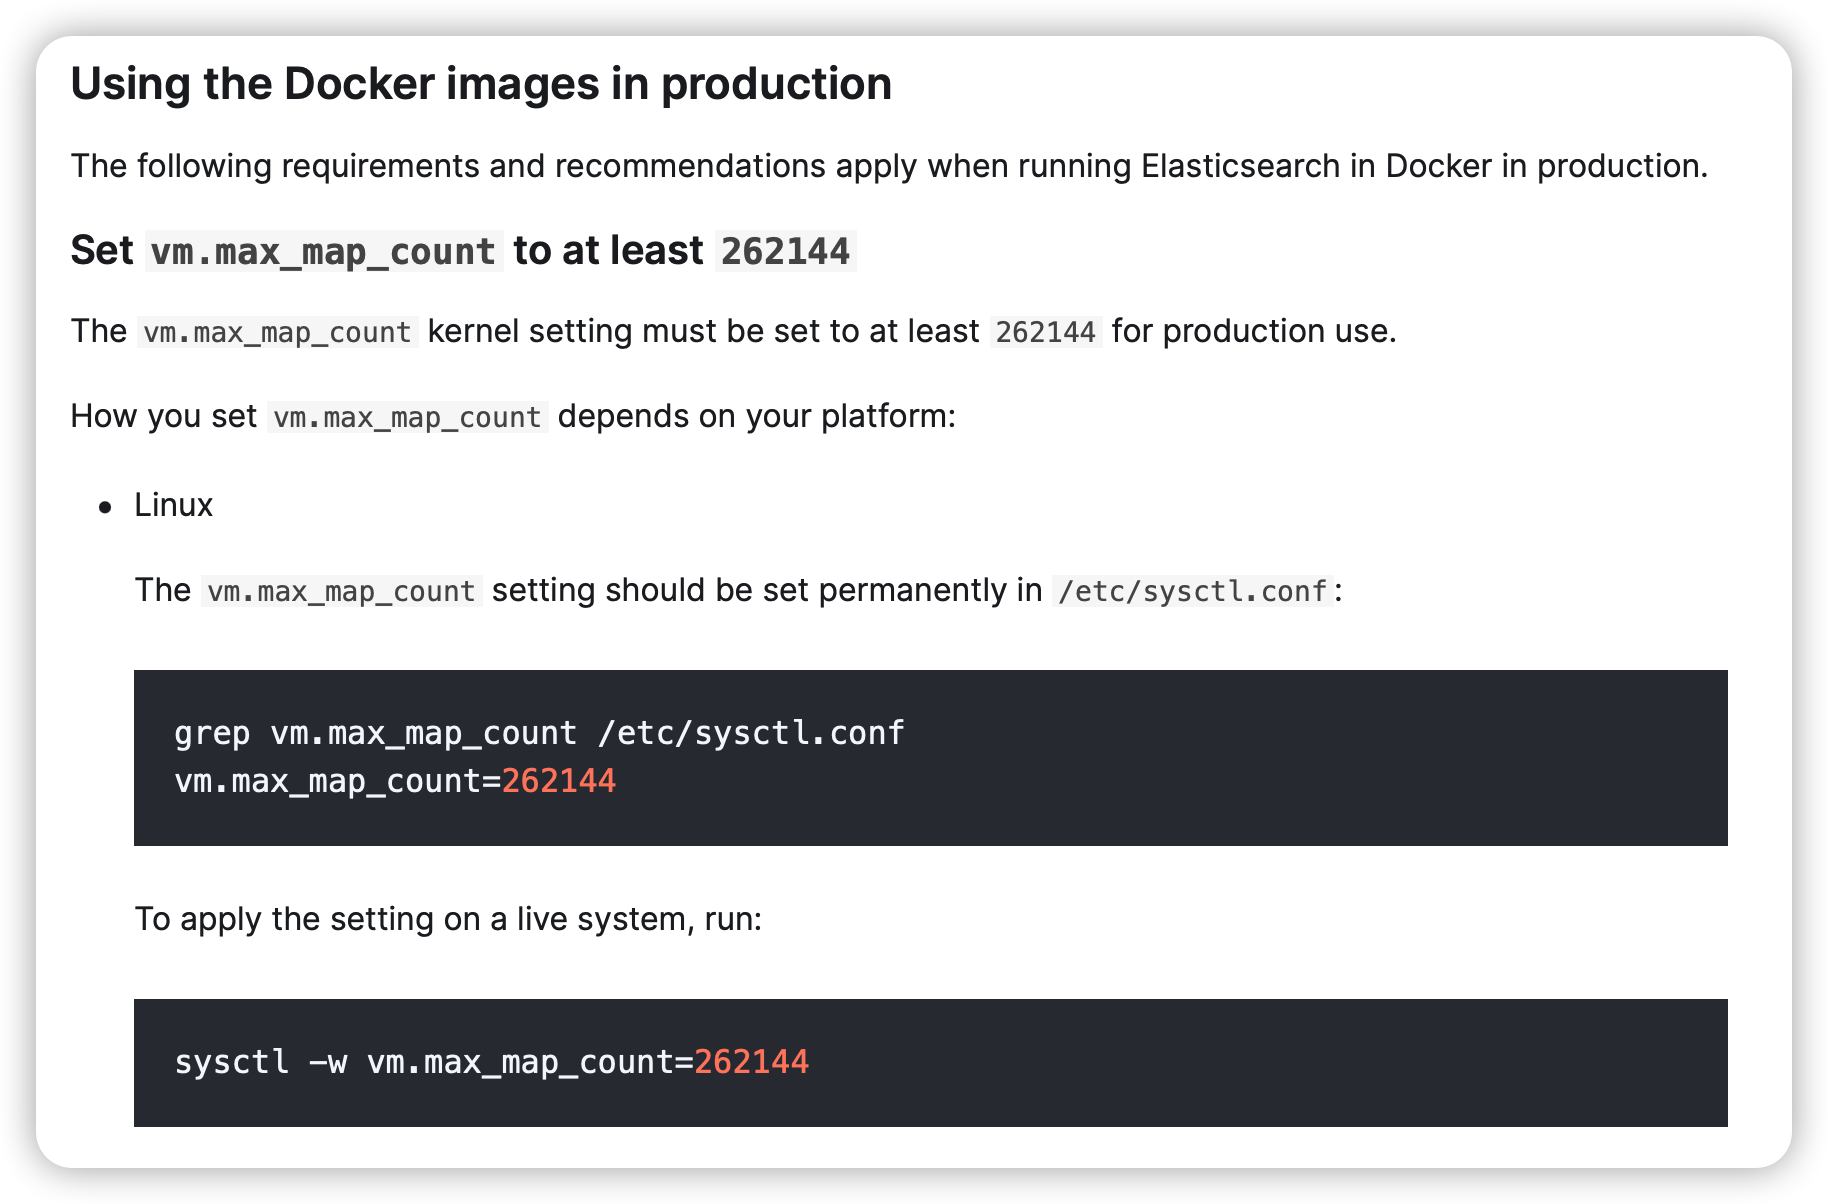
elastic 官网部分截图 vm.max_map_count
max_map_count 文件包含限制一个进程可以拥有的VMA(虚拟内存区域)的数量。
vm.max_map_count 是一个系统参数,它限制了一个进程可以拥有的虚拟内存区域(VMA)的数量。虚拟内存区域是一个连续的虚拟地址空间区域,它们在进程映射文件,链接共享内存,或分配堆空间时被创建。一些应用程序,如ES,需要较高的vm.max_map_count值,否则可能出错。vm.max_map_count的默认值是65535,但可以通过修改/etc/sysctl.conf文件来调整。
# 查看当前值
sysctl -a|grep vm.max_map_count

# 临时修改
sysctl -w vm.max_map_count=262144

# 永久修改
echo "vm.max_map_count=262144" >> /etc/sysctl.conf
sysctl -p
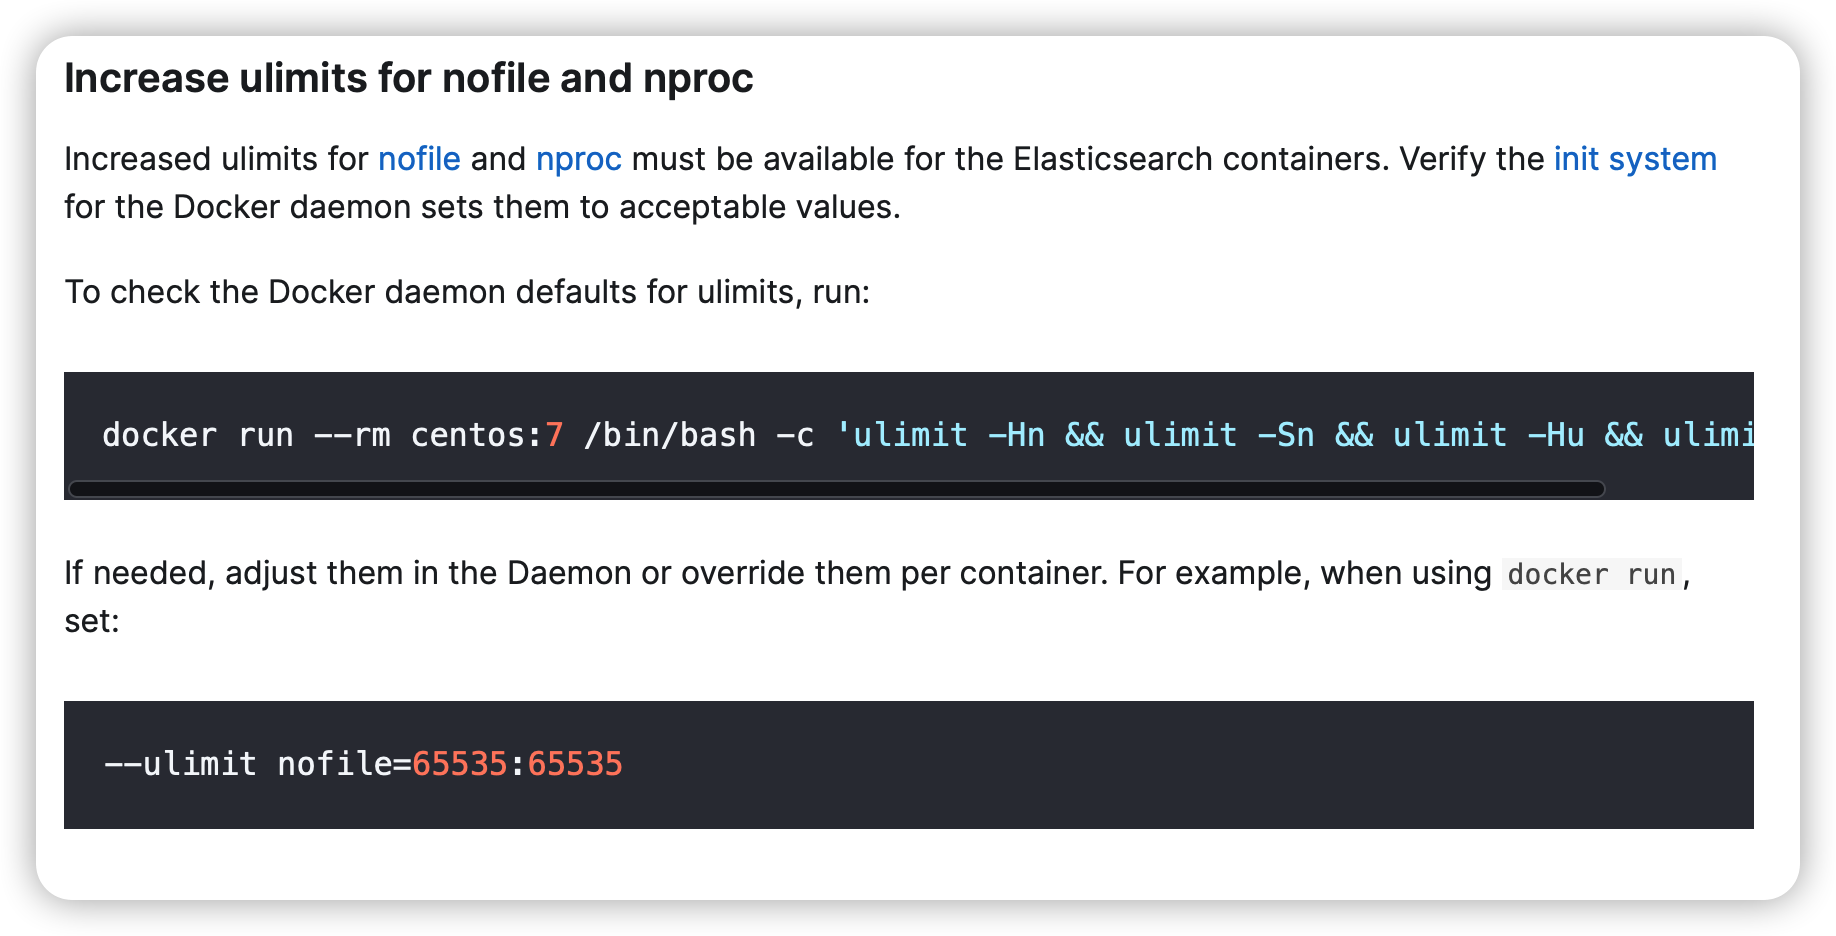
elastic 官网部分截图 ulimit
部署Kibana 相关参考地址:
dockerhub:https://hub.docker.com/_/kibana
github:https://github.com/elastic/kibana
elastic:https://www.elastic.co/guide/en/kibana/current/get-started.html
# 1.拉取镜像
docker pull docker.elastic.co/kibana/kibana:7.7.1

# 2.创建目录
mkdir -p /hsadata/kibana/config

# 3.配置文件
vim /hsadata/kibana/config/kibana.yml
# 内容如下
server.name: kibana
server.host: "0"
elasticsearch.hosts: [ "http://elasticsearch:9200" ]
monitoring.ui.container.elasticsearch.enabled: true
i18n.locale: "zh-CN"
# 以下是 elasticsearch安全认证的用户名和密码
# 用户用 Kibana 密码是部署elasticsearch设置的
elasticsearch.username: "kibana"
elasticsearch.password: "3cu8rt00@A"

# 4.创建并启动容器
# link 引用 es容器名称为 elasticsearch
# 创建容器后在容器内部可以 ping通 elasticsearch(即es容器)
docker run -d --restart=always --link es:elasticsearch -p 5601:5601 -v /hsadata/kibana/config/kibana.yml:/usr/share/kibana/config/kibana.yml -v /etc/localtime:/etc/localtime --name kibana 6de54f813b39
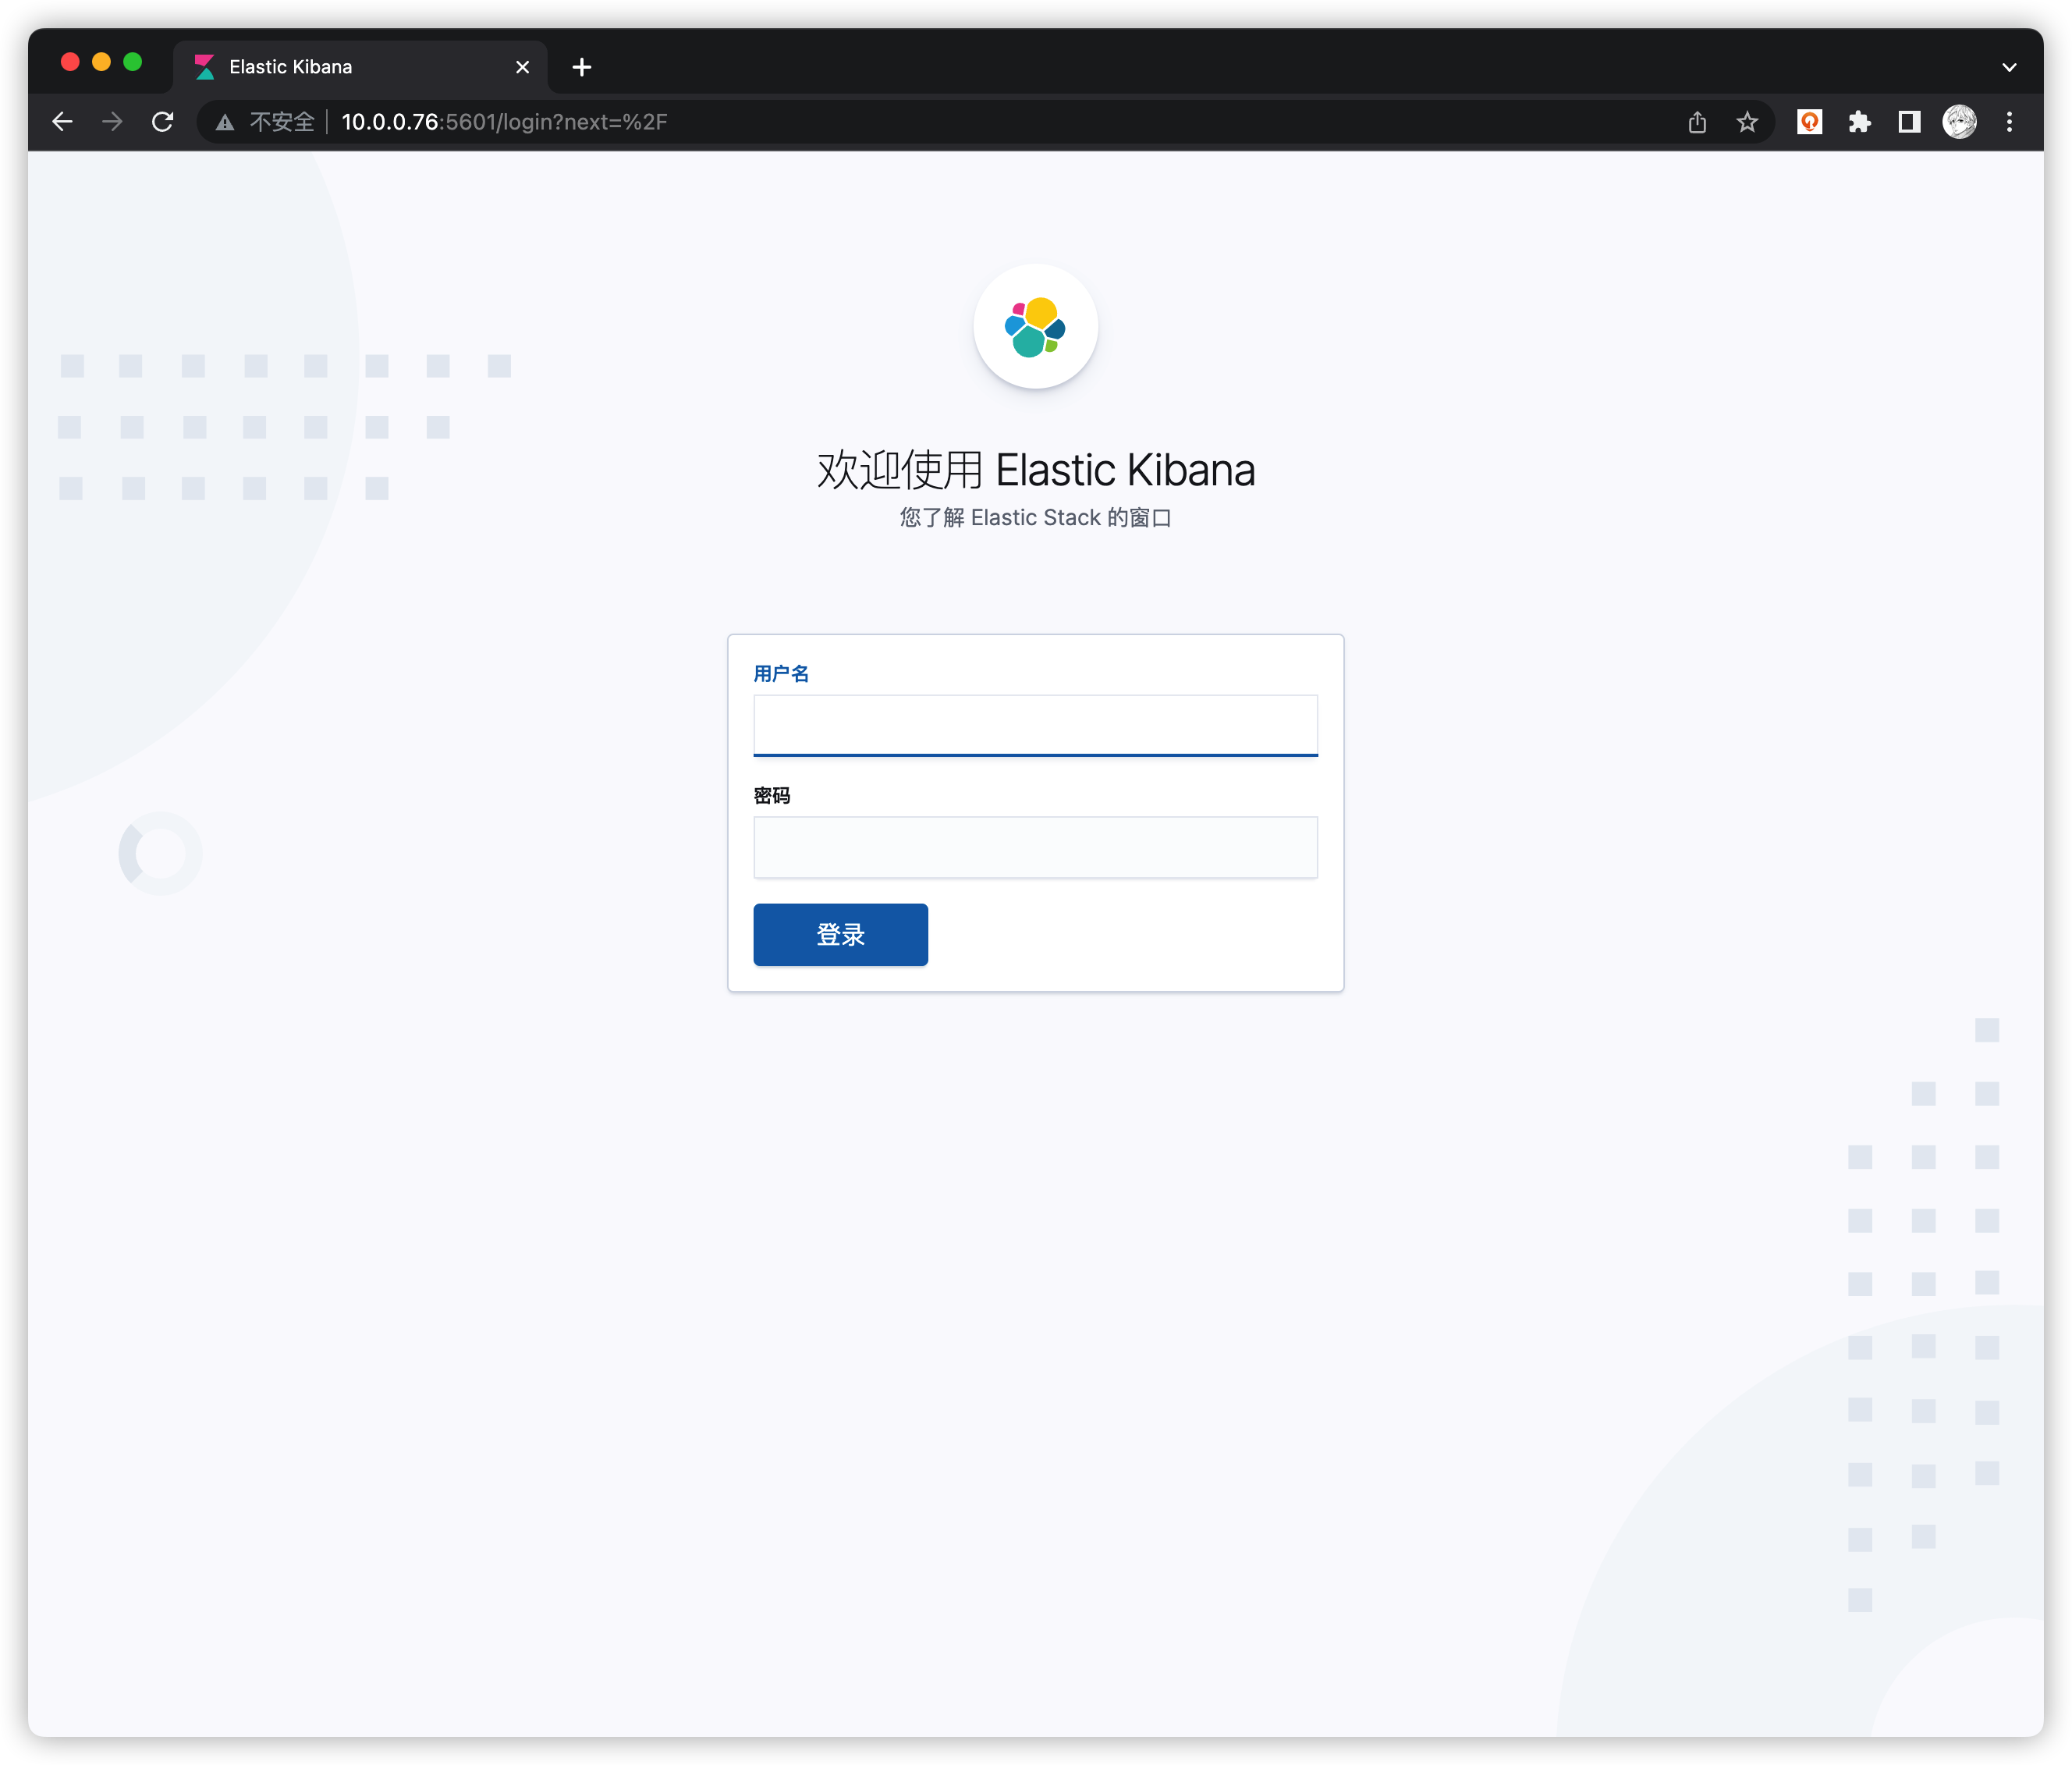
访问 Kinbana 页面 http://服务器IP:5601 如下图
用户名 elastic
密码是在elasticsearch容器中设置的密码(xpack安全认证)
修改Kibana日期格式
登录http://localhost:5601/,会进入Kibana的页面,选择Management -> Index Patterns -> Advanced Settings,找到Date format,如何修改这里的值,默认是MMMM Do YYYY, HH:mm:ss.SSS。
可以改成YYYY-MM-DD HH:mm:ss.SSS,这样页面的所有日期就会显示成2023-03-23 09:30:00.000 这种格式了
部署FileBeat(非docker) 相关参考地址
github:https://github.com/elastic/beats
elastic:https://www.elastic.co/guide/en/beats/filebeat/7.7/filebeat-overview.html
# 1.下载 yum install -y wget wget https://artifacts.elastic.co/downloads/beats/filebeat/filebeat-7.7.1-linux-x86_64.tar.gz # 2.解压 tar -zxvf filebeat-7.7.1-linux-x86_64.tar.gz # 3.修改配置文件 cd filebeat-7.7.1-linux-x86_64 vim filebeat.yml # 配置文件修改内容如下 - type: log enabled: true paths: - /root/hsa-cep-gms.log # - /var/log /messages # multiline.pattern: ^\d{4}-\d{1,2}-\d{1,2} # multiline.negate: true # multiline.match: after # -------------------------- Elasticsearch output ------------------------------ output.elasticsearch: # es服务地址 hosts: ["10.0.0.76:9200"] # protocol: "https" # 设置es的用户名和密码 username: "elastic" password: "3cu8rt00@A" # ================================ Processors ===================================== # 去掉FileBeat自身不需要的字段 processors: # - add_host_metadata: ~ # - add_cloud_metadata: ~ # - add_docker_metadata: ~ # - add_kubernetes_metadata: ~ - drop_fields: fields: ["input","agent","ecs","host","log.flags","log.offset"] ignore_missing: false # 4.编写 start.sh 启动脚本 vim start.sh # 内容如下 # !/bin/bash cd $1 ./filebeat -e -c filebeat.yml > logs/filebeat.log 2>&1 & # 添加可执行权限 chmod +x start.sh # 创建logs目录 mkdir logs # 5.添加到系统服务 vim /etc/systemd/system/filebeat.service # 内容如下 [Unit] Description=filebeat After=network.target [Service] Type=forking # 步骤4中 start.sh的全路径 ExecStart=/root/filebeat-7.7.1-linux-x86_64/start.sh /root/filebeat-7.7.1-linux-x86_64 ExecStop=/usr/bin/kill -s HUP PrivateTmp=true [Install] WantedBy=multi-user.target # 6.启动并设置开机自启 systemctl enable --now filebeat


